Can You Remove a Load-Bearing Wall in a Finished Basement? Process and Alternatives
So can you remove a load-bearing wall in a finished basement? Yes, in most St. Louis homes it can be done, but not the way you would remove a simple partition. A load-bearing wall carries the weight of the floors above it, so removing one means transferring that load to a beam and posts, and doing it under a permit with inspections. This guide walks through the process of removing basement load bearing walls step by step, and covers the alternatives when full removal costs more than the open space is worth.
If you are the kind of homeowner who wants to do this the legal way, without a stop-work order or a problem when you sell, that instinct is correct. This is one of the projects where cutting corners shows up later, either as a sagging floor or as a question from a buyer's inspector. Here is how the work actually goes.
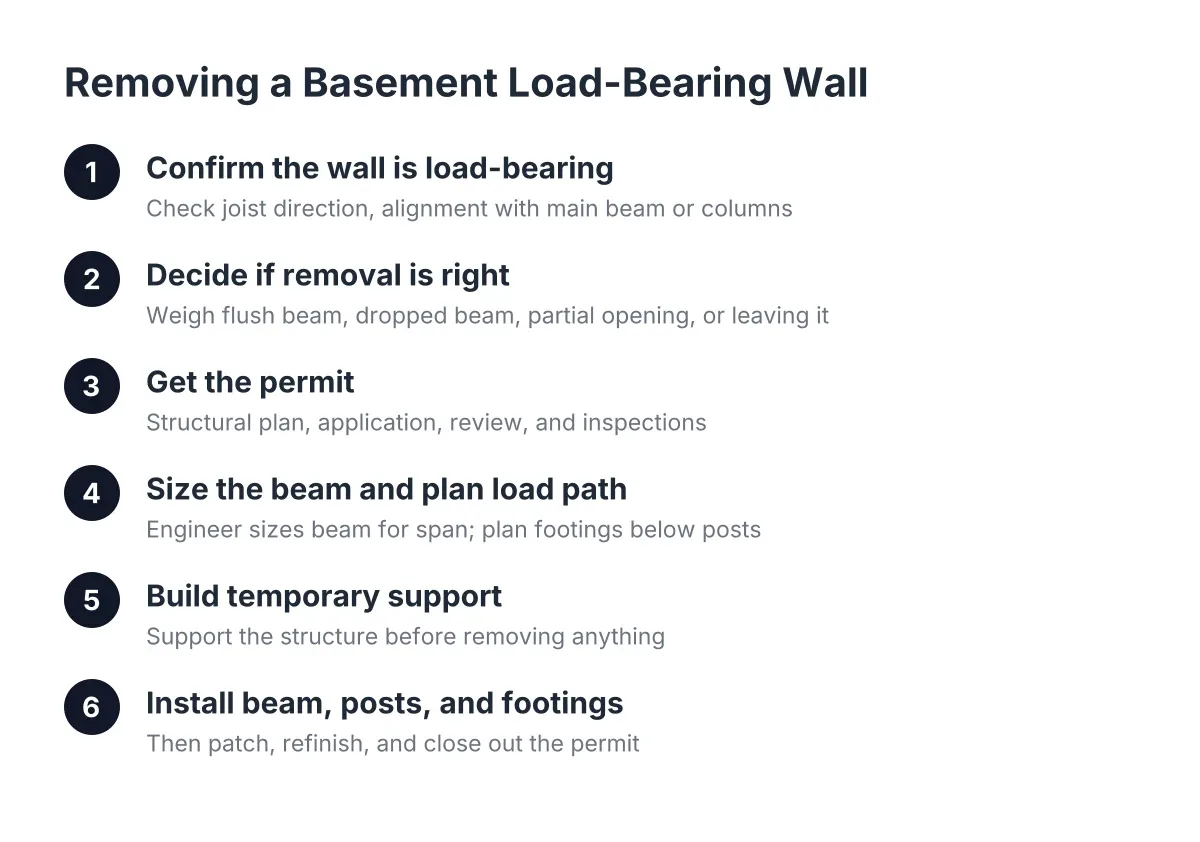
Step 1: Confirm the Wall Is Actually Load-Bearing
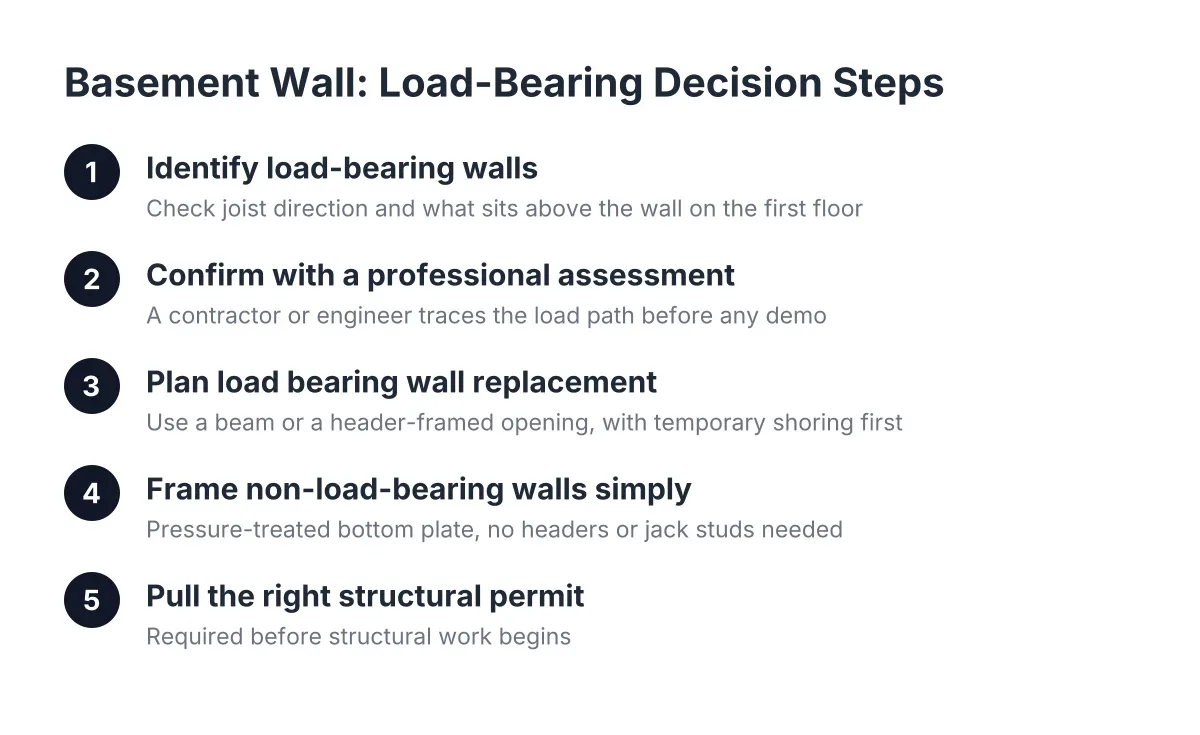
Before anything else, verify what the wall is doing. In a basement, the main clue is direction: walls running perpendicular to the floor joists above, especially near the center of the house, usually carry load. A wall directly under the main beam, or one supporting the ends of joists, is almost always structural.
However, basements can fool you. Some finished basements have partition walls that were framed tight to the joists and now carry incidental load, even though they were never designed to. Other walls hide a steel column inside the framing, so the wall looks removable but the post inside it is not.
For that reason, treat any wall you cannot positively rule out as load-bearing until a contractor or structural engineer says otherwise. A basement load-bearing wall assessment is a small cost compared to guessing wrong. If you want to run the visual checks yourself first, look at joist direction, what sits above the wall on the first floor, and whether the wall lines up with the main beam or columns.
Step 2: Decide Whether Removal Is the Right Move
Not every structural wall is worth removing. Before committing, weigh what the open space buys you against what the removal costs in money, mess, and disruption. This is the step most homeowners skip, and it is where the good decisions get made.
Consider the trade-offs honestly:
- Full removal with a flush beam. The beam tucks up into the joist bay, so the ceiling stays flat. This gives the cleanest look for a basement playroom or family space, but it requires the most structural work and the highest cost.
- Removal with a dropped beam. The beam hangs below the ceiling. It costs less and works well when the basement ceiling is already low in spots, or when you plan a basement bar and can build the beam into the design.
- A partial opening. Instead of removing the whole wall, cut a wide cased opening and leave structural sections at each end. This often gets you most of the openness at a fraction of the structural work.
- Leaving the wall and working around it. Sometimes the smartest floor plan puts the basement bathroom or mechanical room behind the load-bearing wall and opens up the rest of the space.
For a growing family reclaiming basement square footage, a partial opening or a dropped beam frequently delivers the usable space without the premium of a flush installation. The right answer depends on ceiling height, span length, and what sits above.
Step 3: Get the Permit Before Anyone Touches the Wall
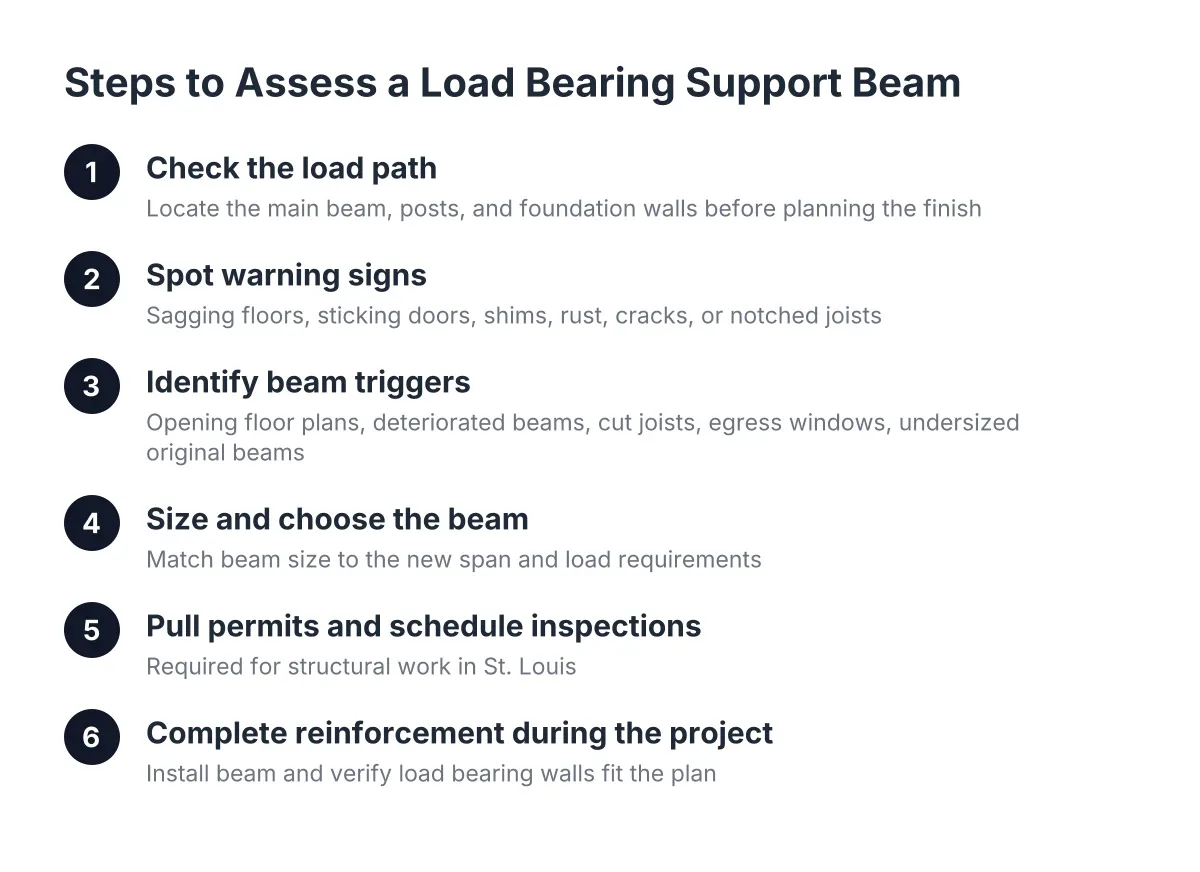
Removing or altering a structural wall requires a building permit in St. Louis, whether you are in the city or in St. Louis County. This is not the gray area some interior cosmetic work falls into. Changing how a house carries its load is exactly what permit review exists for.
Here is what the permit process typically involves for this kind of work:
- A structural plan showing the new beam size, post locations, and footing requirements, often prepared or stamped by an engineer.
- Permit application and plan review by the local building division.
- Inspections at key points, usually including framing before anything gets covered up.
- A final inspection once the work is complete.
If you are wondering what happens if I finish my basement without a permit, the honest answer is that the risk shows up later. Unpermitted structural work can stall a home sale, complicate an insurance claim, and in some cases force you to open up finished walls so an inspector can see the framing. A contractor who says a structural removal does not need a permit is telling you something about how they operate.
One reassurance for the permit-anxious: a good contractor pulls the permit and schedules the inspections. That should be part of the job, not homework left to you. Applying for a basement remodel permit also does not invite the city to audit the rest of your house; inspectors review the work on the permit.
Step 4: Sizing the Beam and Planning the Load Path When Removing Basement Load Bearing Walls
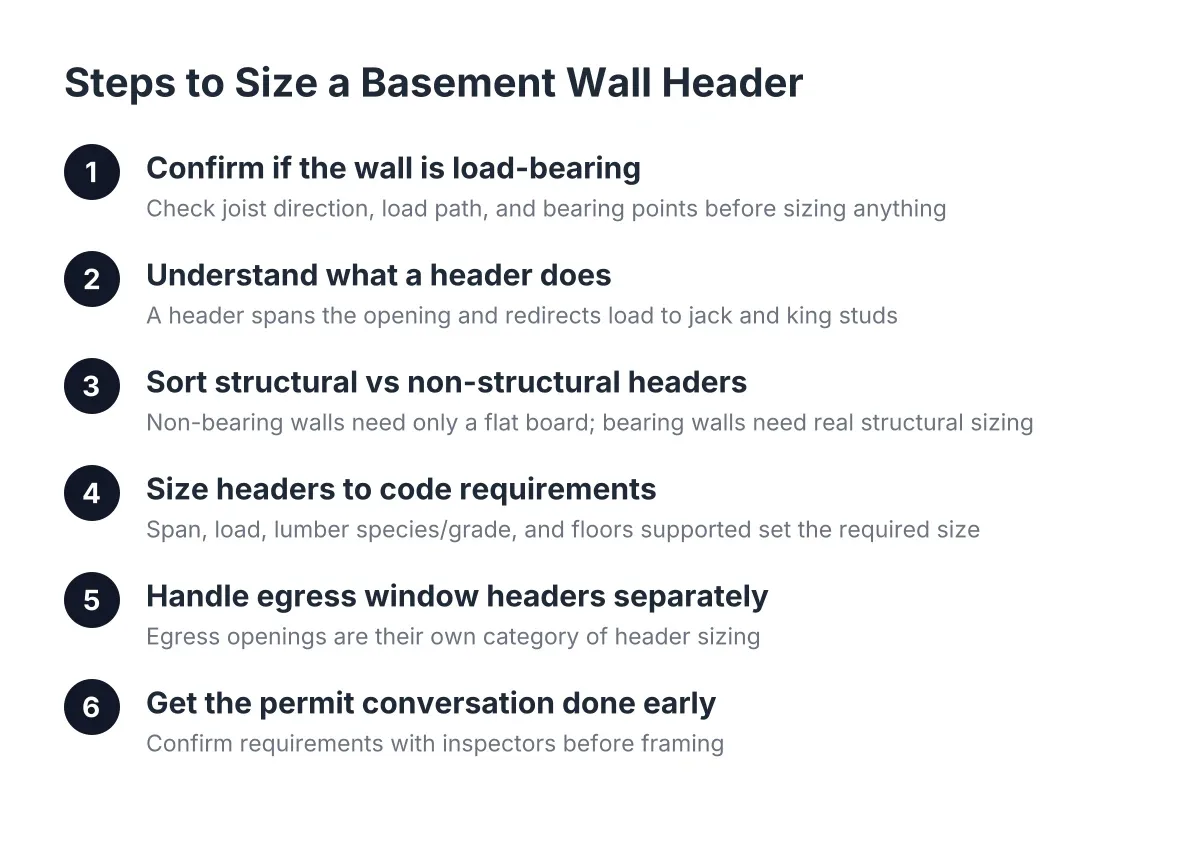
Once the permit plan is in motion, the structural design determines everything downstream. The beam must be sized for the span and the loads above it, which is why an engineer's input matters here. A beam that works for an 8-foot opening may be undersized at 14 feet.
Just as important is the load path below the beam. The new posts at each end of the beam need to land on something solid, which in a basement means the concrete slab or, more often, new or existing footings. A typical basement slab is not designed to take a concentrated point load, so the plan may call for cutting the slab and pouring footings under the post locations.
This is also where the finished basement complicates things. In an unfinished basement, the framing and slab are exposed. In a finished one, drywall, flooring, and sometimes a plywood subfloor have to come out around the work zone so the crew can see and reach the structure. When an existing finished assembly is old or was built poorly, it is often better to tear that section out and reframe it cleanly than to patch around it.
Step 5: Build Temporary Support Before Removing Anything
Never remove a load-bearing wall, or even a section of one, without temporary support in place. The standard method is a temporary stud wall or shoring posts built a couple of feet away on each side of the wall, snug to the joists above, carrying the load while the permanent beam goes in.
The sequence matters. First, the crew clears the work area completely; a basement full of stored boxes is not a safe structural work zone. Next, they build the temporary walls and confirm the joists are bearing on them. Only then does demolition of the load-bearing wall begin.
Can you remove a load-bearing wall yourself with rented shoring posts? Physically, some homeowners could. Practically, this is the step where DIY goes wrong, because temporary support that is misplaced, undersized, or not tight to the joists lets the floor above sag while the wall is out. Even a small amount of movement can crack first-floor drywall and tile, and severe cases risk structural damage. This is the part of the project where professional judgment earns its fee.
Step 6: Install the Beam, Posts, and Footings
With the load safely on temporary supports, the old wall comes out and the new beam goes in. For a flush beam, the crew cuts the joists back, sets the beam into the joist bay, and hangs each joist from it with structural hangers. For a dropped beam, the beam goes up under the joists and the joists bear on top of it.
Posts get installed at each end, landing on the footings from Step 4. Everything gets fastened per the engineered plan, because the inspector will check the beam size, hanger type, post connections, and bearing points against the approved drawings. After the framing inspection passes, the temporary walls come down and the load transfers to the new beam.
For example, suppose a family in south St. Louis County wants to turn a chopped-up 1970s finished basement into one open playroom with a small basement bathroom in the corner. Say the dividing wall turns out to sit under the main floor joists. In that scenario, a typical crew would clear the room, open the ceiling along the wall, shore both sides, remove the wall, set a dropped beam with a post at each end on new footings, then reframe and re-drywall around it. The playroom gains the open span; the beam becomes a painted feature across the ceiling.
Step 7: Patch, Refinish, and Close Out the Permit
Structural work in a finished basement always ends with finish work. The ceiling gets patched or replaced along the beam line, posts get wrapped, and flooring gets repaired where footings were cut into the slab. If the slab was opened, plan for new concrete, a moisture check, and matching or replacing the flooring in that area.
Finally, schedule the closing inspection so the permit is signed off and the record is clean. That final approval is what protects you at resale, when a buyer's agent asks whether the basement work was permitted and you can answer yes with paperwork behind it.
Alternatives When You Cannot Remove the Load-Bearing Wall
Sometimes removal does not pencil out. The span is too long, the ceiling is too low for a dropped beam, or the budget is better spent on the basement bathroom and heating. In those cases, several alternatives preserve most of the benefit:
- Widen a doorway into a cased opening. Even going from a 30-inch door to a 6-foot opening changes how connected two rooms feel, with a much smaller header than a full-span beam.
- Add matching openings on both sides of the wall. Two openings can create a circulation loop that makes a divided basement feel open.
- Turn the wall into a feature. A load-bearing wall can become the back wall of a basement bar, a built-in storage wall, or the divider between the family space and a guest room.
- Reframe around existing columns. Steel support columns can be boxed, wrapped, or absorbed into a half-wall instead of relocated.
Load bearing walls limit your floor plan, but they rarely ruin it. A basement-focused contractor who assesses structure as part of every finishing project can usually find a layout that works with the wall you have.
When to Bring in a Professional
Bring in a contractor or structural engineer before demolition if the wall runs perpendicular to the joists, sits near the center of the home, hides a column, or supports anything you cannot fully identify. Also get professional eyes on any project involving footings, beam sizing, or spans over a few feet.
Can you remove a load-bearing wall in a finished basement? Yes, with an engineered plan, a permit, temporary support, and a proper beam and load path. What you cannot do is skip those steps and hope the house does not notice. Done right, the wall comes out once, the inspections pass, and the finished basement is a space you can use, sell, and stand behind.
If you need basement finishing, STL Basement Finishing can help.
Prefer to talk it through? Call (314) 916-6297 — a quick call is usually the fastest way to get a straight answer for your situation.