Basement Wall Headers Sizing: A St. Louis Homeowner’s Guide to Getting It Right
Basement wall header sizing is one of those questions that stops a DIY basement finish cold. You want to frame a new opening, work around a beam, or add an egress window, and suddenly you are staring at a wall wondering whether the lumber above that opening needs to carry the whole house or just some drywall. Get it right and nobody ever thinks about it again. Get it wrong and you are looking at sagging floors upstairs, cracked drywall, and a hard conversation with an inspector or a future buyer.
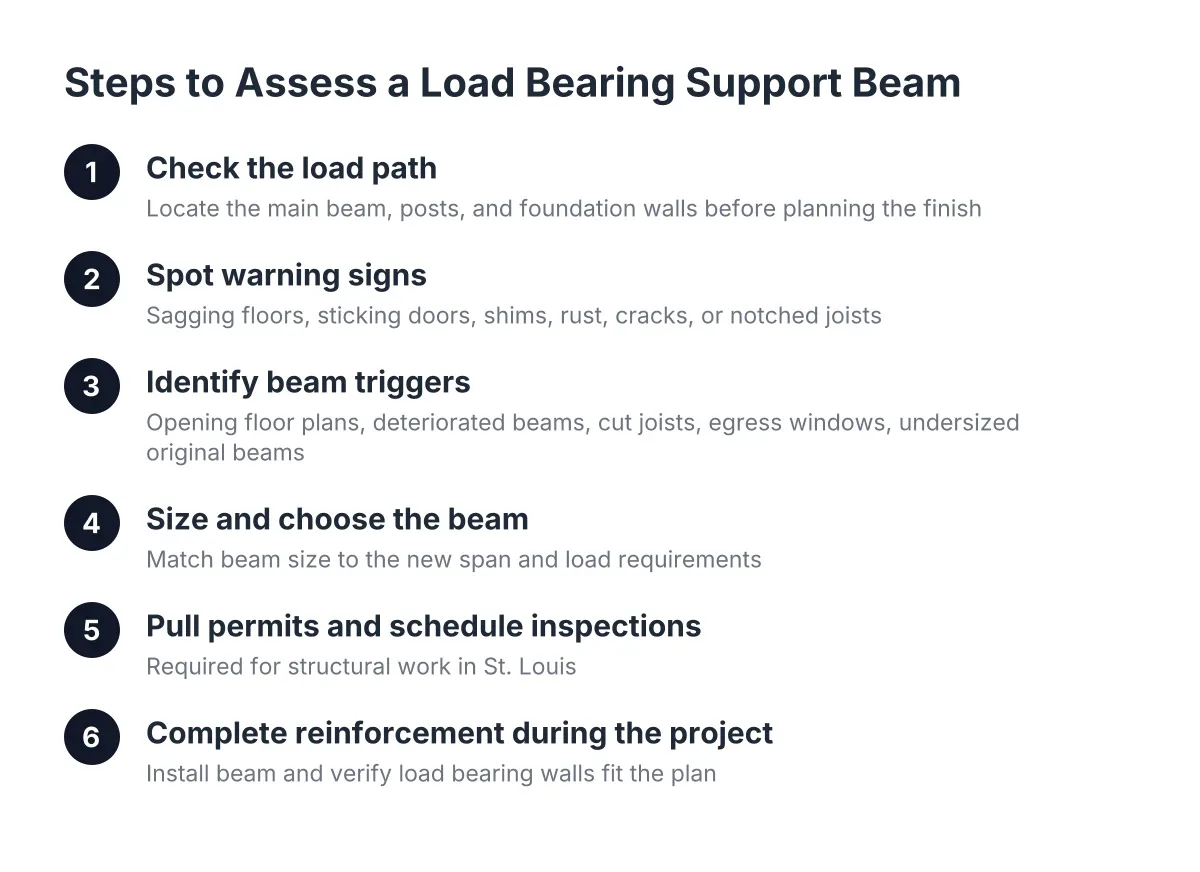
This guide walks through the process the way a contractor would on a job site in St. Louis: figure out what the wall is doing first, then size the header to match, then confirm it with the people who actually approve the work. It is written for the homeowner who wants the finished basement, the bar, maybe the bathroom, and wants the framing behind the drywall to be fully legal and up to code.
One note before we start. Sizing a header that carries real structural load is not a guess-and-check exercise. This article will show you how the process works and where the decision points are, but for anything load-bearing, the final number should come from a code table, an engineer, or a contractor who does load-bearing wall assessment as part of the job.
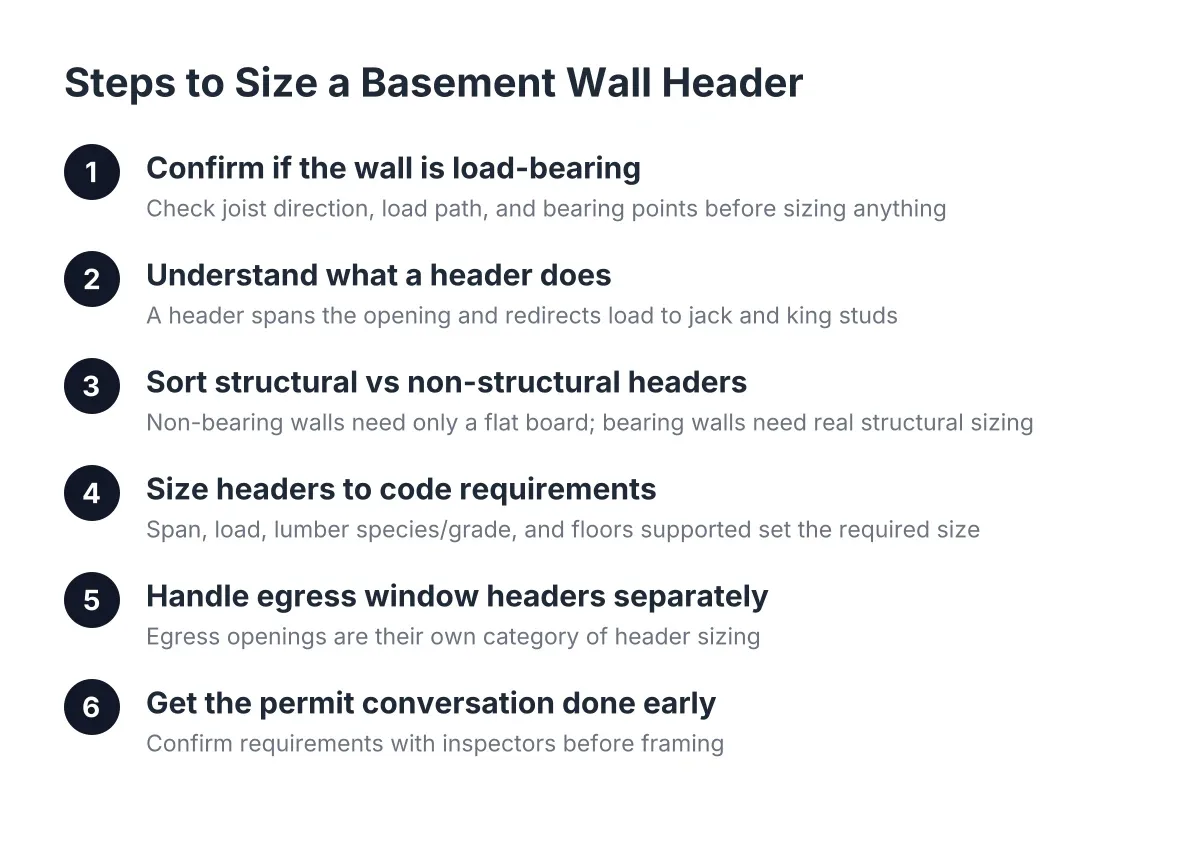
Step 1: Confirm Whether the Wall Is Load-Bearing Before You Size Anything
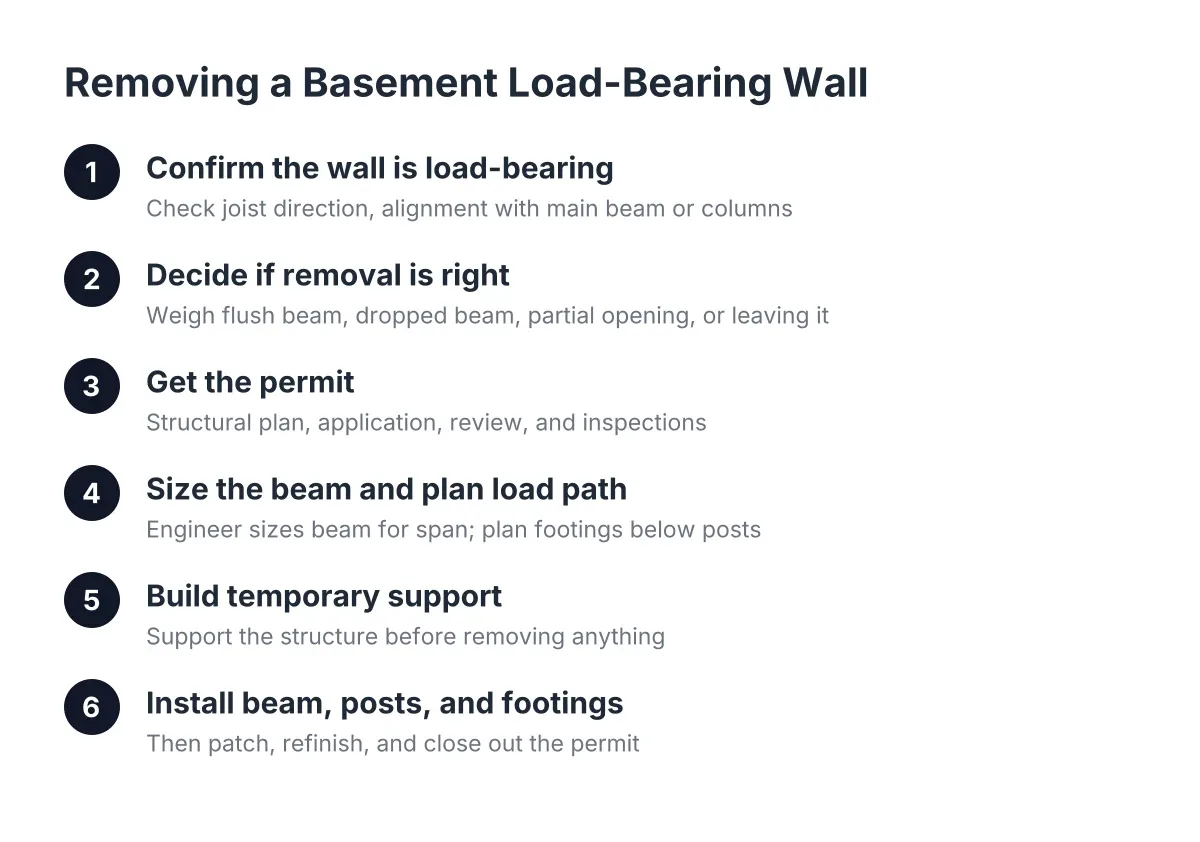
Header size depends entirely on what the wall above the opening is holding up. So the first step is not a lumber calculation; it is a structural question. What is load-bearing? In plain terms, a load-bearing wall carries weight from above, floor joists, another wall, sometimes the roof, and transfers it down to the foundation. A non-load-bearing partition just divides space and holds drywall.
In a basement, here is how to read the situation:
- Look at the joists overhead. If the wall runs perpendicular to the floor joists above it, treat it as potentially load-bearing until proven otherwise. Walls running parallel to the joists usually are not, but "usually" is not a permit-safe answer.
- Follow the load path. Common examples of load bearing walls in a basement include anything directly under a main beam, under a wall on the first floor, or supporting a stair opening. Steel columns and the beam they hold are the clearest example of all.
- Check for splices and bearing points. If joists overlap or butt together on top of the wall, that wall is carrying them. That is a bearing wall, full stop.
- Sketch it out. A simple load bearing wall diagram, even a pencil sketch showing joists, beams, and posts, forces you to trace where weight actually travels. If you cannot draw the load path, you do not know it yet.
If you have already read our step-by-step check on telling whether a basement wall is load-bearing, this will feel familiar. The short version: when in doubt, assume it bears load and verify before cutting anything.
Step 2: Learn What a Header Actually Does in a Basement Wall
Think of a header as a small bridge. When you cut an opening in a wall, a doorway into the basement bathroom, a pass-through for the bar, a window opening, the studs that used to carry weight in that spot are gone. The header spans the gap and redirects that weight sideways to the studs on either side, called jack studs and king studs, which carry it down to the slab or footing.
This matters in a basement finish more than people expect. New partition walls for a media room or bar are one thing. But basements also have short walls that do not reach an overhead joist, walls framed against concrete, and openings cut into existing framing near beams and columns. Each of those changes what the header above an opening has to do, which changes how to approach basement wall header sizing for different conditions—from a simple lookup into a judgment call.
There is also a distinction that saves DIYers a lot of lumber and confusion, and that is the next step.
Step 3: Sort Structural Headers from Non-Structural Ones
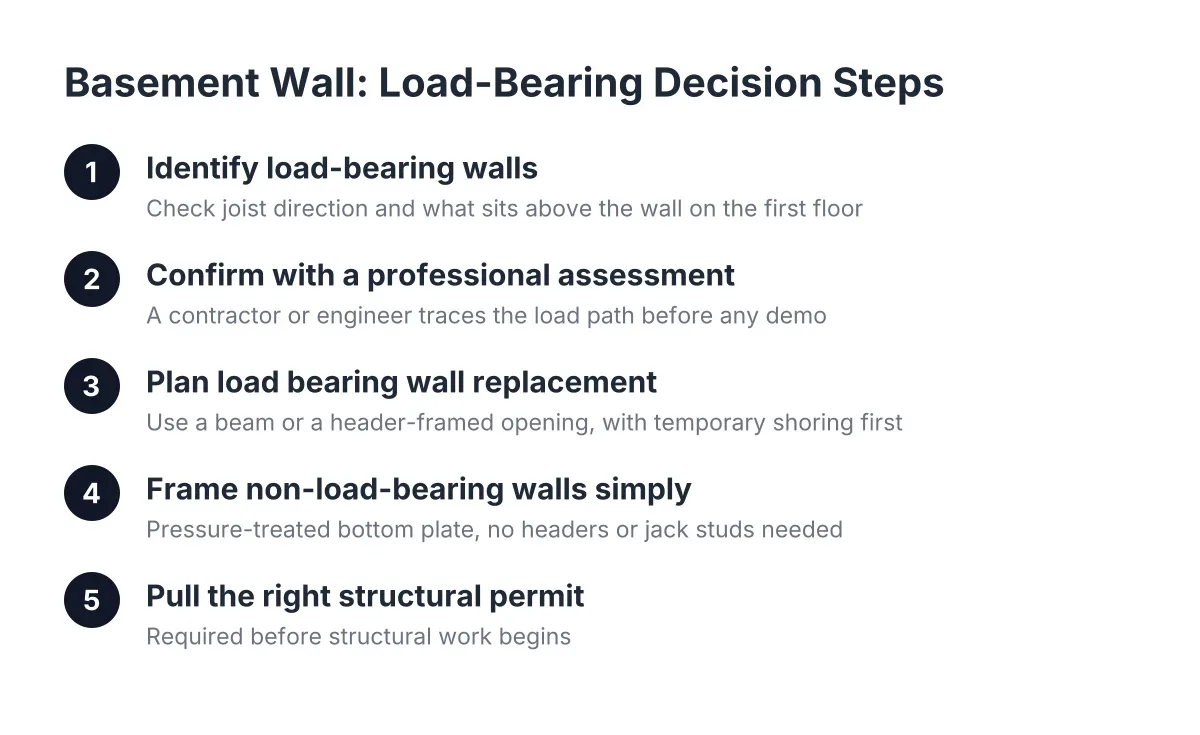
Here is the part most online framing guides skip. In a non-load-bearing basement partition, the "header" over a door or window opening does not carry structural load at all. Its only job is to give drywall something to fasten to. In that case, a flat 2×4 or 2×6 laid across the opening is enough. You can often skip jack studs entirely, because there is no load to transfer.
Over a genuinely load-bearing opening, the rules flip completely. Now the header is structural, and it needs real depth, proper bearing on jack studs at each end, and sizing pulled from a span table or an engineer's calculation. This is exactly the kind of framing that shows up in the load bearing walls conversation homeowners have with contractors during a basement remodel, because getting it wrong affects the floor above your head.
Suppose a homeowner in St. Louis Hills is framing a basement bar with a wide pass-through opening into the family room. If that new partition sits parallel to the joists and carries nothing, the opening needs only a flat non-structural header, framed clean for drywall. But say that same opening gets cut into an existing wall that happens to sit under a first-floor wall. In that scenario, the header is structural, the opening needs temporary support during the work, and the sizing needs to come from code tables or an engineer, not a forum thread.
Step 4: Sizing Basement Wall Headers According to Code Requirements
Determining the correct basement wall header sizing for a structural opening comes down to four inputs: the span of the opening, the load above it, the species and grade of the lumber, and the number of floors being supported. Building codes publish header span tables that turn those inputs into a required size, such as a doubled 2×8 or 2×10, and inspectors in the St. Louis area check openings against those tables.
Here is the logic in order:
- Measure the clear span. A 32-inch bathroom door opening and a 6-foot bar pass-through are different structural problems. Wider span, deeper header.
- Identify the load above. A header carrying one floor plus a roof needs more than a header carrying only a floor. In a basement, you are often near the bottom of the whole load path, which means loads can be larger than they look.
- Pick the material. Doubled dimensional lumber with a plywood spacer is the traditional answer. Engineered lumber, such as LVL, handles longer spans in less depth, which helps in basements where headroom is already tight.
- Confirm the bearing. The header is only as good as the jack studs under each end. Longer spans and heavier loads require more bearing, sometimes doubled jacks.
Two basement-specific wrinkles are worth flagging. First, short knee walls or soffit walls that never reach a joist may need added ceiling blocking or braces so the top plate has something solid to attach to; a header in that wall is only as stable as the wall itself. Second, headers framed against foundation concrete sit in a spot that needs moisture control in both directions, keeping warm interior air off cold concrete and keeping soil moisture out of the framing. A correctly sized header that rots is still a failure.
Step 5: Handle Egress Window Headers as Their Own Category
Egress windows deserve their own step because they combine everything above with concrete cutting. If your basement finish includes a bedroom, code requires an egress window, and that means a wide opening in a foundation wall that is, by definition, load-bearing. The header or lintel over that opening may be steel rather than lumber, and the sizing is not a job-site judgment call.
The order of work matters here too. Cutting the concrete before the structural support is planned is how stop-work orders happen. And if the basement is already finished, retrofitting structural steel around an opening can mean tearing out existing framing and drywall to make room, then reframing and re-trimming around it. Some exterior-mounted structural frame systems limit how far the opening has to be cut back inside, which can save the finished wall. Either way, this is engineer-and-permit territory, not a weekend project.
Step 6: Get the Permit Conversation Out of the Way Early
If you are the type who worries about doing things the legal way, good. That instinct is correct here. Structural framing changes, load-bearing openings, and egress windows are exactly the kind of work that permits and inspections exist for, in both St. Louis city and St. Louis County. The framing inspection is where header sizing gets checked, before drywall covers it.
Homeowners sometimes hesitate to ask about permits because they fear delays or "opening a can of worms." Consider the alternative. An unpermitted basement finish with a wrong-sized header over a bearing opening is a problem that surfaces at the worst possible time, usually when a realtor asks whether the finish was permitted, or when a buyer's inspector notices a sag. Fixing framing behind finished walls costs far more than framing it right open. A contractor who shrugs and says "we don't usually need one" for structural work is telling you something about how the rest of the job will go.
As of 2026, jurisdictions in the St. Louis area continue to review structural changes under adopted residential codes, and rules can differ between the city and the county. Confirm requirements with your local building department, or hire a contractor who pulls the permit and schedules the inspections as part of the job.
Step 7: Know When to Stop and Bring In a Professional
Draw the line here. Framing a non-structural header in a new partition wall for your basement bar is reasonable DIY territory. The moment an opening involves a bearing wall, a foundation wall, temporary support during removal, or an egress requirement, the sizing decision belongs to someone who does this work under permit and inspection.
A practical checklist for deciding:
- DIY-friendly: flat headers in new non-load-bearing partitions, standard door openings in walls you have confirmed carry no load.
- Verify first: any wall perpendicular to joists, any wall near a beam or column, any wall you did not build yourself.
- Professional territory: widening or cutting openings in bearing walls, anything requiring temporary support, egress windows, steel lintels, and any header over about a standard door width in a wall carrying load.
The honest trade-off: bringing in a contractor or engineer for a structural assessment adds a step and a cost to the front of the project. What it buys is a finished basement you can point to at resale with the permit record to match, and a header sizing decision backed by span tables instead of a best guess. For a space you are building so family and friends can gather under it, that is the right order to do things in.
If you need basement finishing, STL Basement Finishing can help.
Prefer to talk it through? Call (314) 916-6297 — a quick call is usually the fastest way to get a straight answer for your situation.